Giving the props where they are deserved… the original article can be found here – by Juliet Blankespoor “Guidelines to Growing Medicinal Herbs from Seed”
Bravo Ms. Blankenspoor and Chestnut School, Bravo!

Guidelines to Growing Medicinal Herbs from Seed
No matter how many years I plant seeds and watch them grow into mature plants, I am still awed. I feel an utter child-like excitement when I see the first green signs of a sprouting seed poking up through the soil. Germinating seeds are a universal symbol of hope and renewal, ushering in the joy and promise of spring. In a world growing more complicated and technological by the day, it is a comforting pleasure to witness the simple, yet miraculous, processes of plant life.
As an herbalist, I strive to cultivate direct relationships with the living medicinal plants I use in my practice—either by growing them in my garden or wildcrafting them in a sustainable fashion. I came into this craft through my fascination with plants, along with their myriad offerings; growing medicinal herbs is one of the greatest joys in my life.
I have been growing plants for the last two decades and, like every gardener, I have learned as much from my mistakes as my successes. Growing up in the suburbs, I spent little time gardening; I didn’t catch the plant bug until I left home. My first vegetable garden was pretty much a flop, as I really had no clue what I was doing. But in my mind, I was now a gardener, and ready to try again the next spring. And luckily, many of my friends had green thumbs, or grew up on farms; they took me under their wings and taught me skills that are now instinctive.
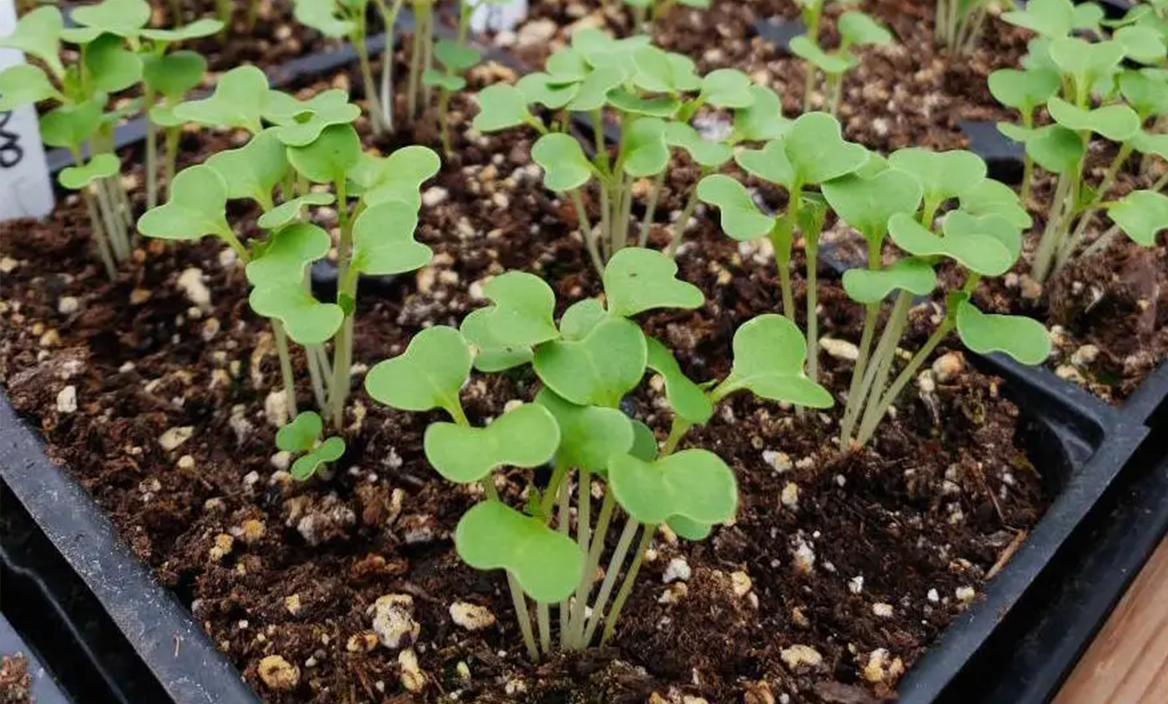
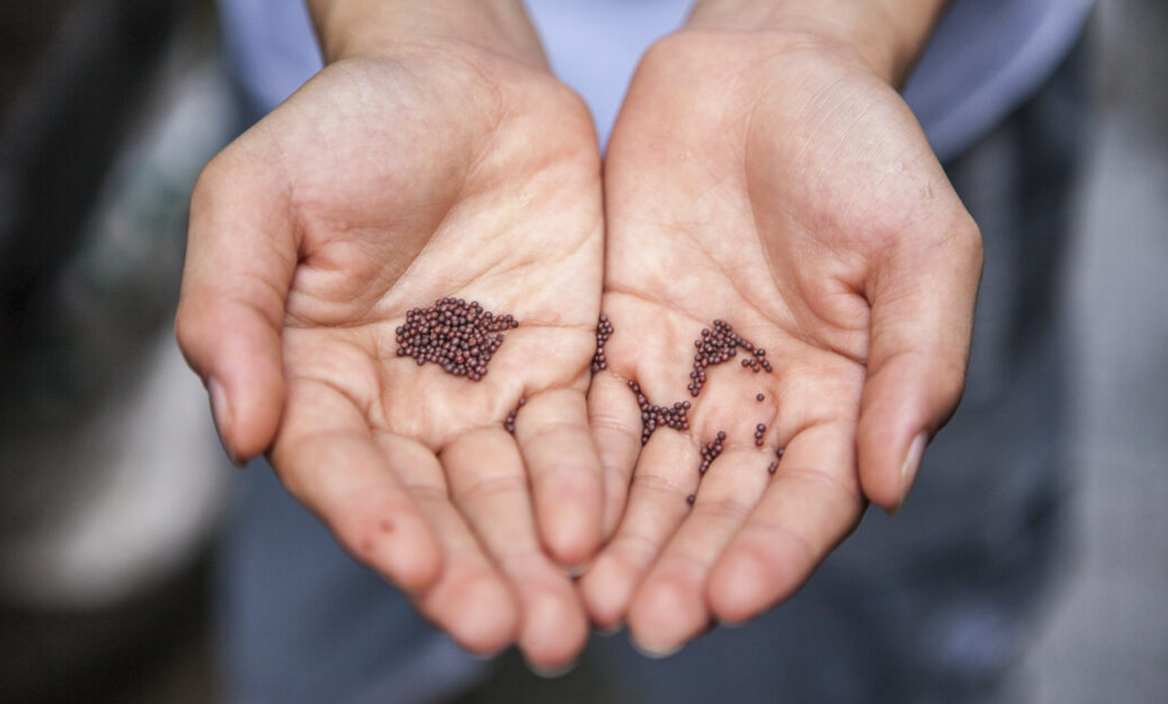
Blue cohosh seedlings (germinating three years after being planted)–
When I started growing herbs, I soon realized that I had to pay attention to details and learn a whole new set of germination skills. Most of the annual vegetables we grow have evolved with the agricultural practices of humans, and thus have been selected over the millennia to have uniform, quick, and relatively easy germination.
Not so with most of our medicinal herbs, especially considering that many of them are perennials, which typically have a more selective strategy for germination (with less of the live-fast, die-young lifestyle of annual plants). For many years I nurtured an herbal nursery, and learned even more tricks from other growers, as well as from watching and listening to the plants themselves.
A Special Note on Intention
Some years back I experienced an almost total failure in germination for most of the seventy species we planted. We re-examined all the variables: same soil mix we’d been using for a decade, same fertilizer, greenhouse, etc. Now there’s always a chance that we missed an important ingredient, such as lime, which would adversely affect soil pH, or our composted manure was too hot, or something to that effect. But, in reviewing our seeding scenario, I came to the conclusion that we sorely needed some ritual and prayer during planting time.
By the time we are planting seeds, we have spent many moons in anticipation of that special moment, from the gathering of seeds to their stratification, the careful planning of the seeding schedule, and the formulating of soil. In addition to all of the material preparation, we are awaiting and co-creating the rebirth of the green world and conjuring up a miracle in spite of frigid temperatures and gray skies. Now we mark our initial seeding with prayers, spoken intention, songs, and burning aromatic herbs. Since the inception of this little ritual, we have had very successful germination but, more importantly, our sense of place, community, and season has deepened.
If you’re excited to plant an herb garden, this article is your one-stop guide to medicinal seed culture! I’ll lay out the most common systems for seed starting and the basics of caring for seedlings—including typically encountered problems—plus the special germination techniques necessary for many medicinal plants. My hope is that you’ll have all the information you need to be able to grow more plants to love, eat, and make medicine from.
–
Starting Herbs from Seed:
Direct Seeding Versus Planting in Trays
Planting seeds directly in the garden has some obvious advantages, notably the absence of resources and energy necessary in seed tray culture. It is the easiest choice, and for those plants who do not tolerate transplanting, it is the only choice. The downside to direct seeding is the higher attrition rates with tender seedlings left to fend for themselves in the face of frost, plant-on-plant competition, herbivory, drought, and disease. However, the plants who do survive and reproduce will have offspring selected for their parents’ tenacity and vitality.
Some herbs that generally have good survival rates with direct seeding are:
- Calendula (Calendula officinalis)
- Basil (Ocimum basilicum)
- Holy basil (Ocimum tenuiflorum)
- Feverfew (Tanacetum parthenium)
- German chamomile (Matricaria recutita)
- Borage (Borago officinalis)
- Garden sage (Salvia officinalis)
- Skullcap (Scutellaria lateriflora)
- Echinacea (Echinacea purpurea, E. angustifolia)
- Anise hyssop (Agastache foeniculum)
–
Many herbs also need a period of moist cold before they will germinate in the garden—in the same fashion that many wild plants only germinate in the warm soils of spring after a cold, dormant period throughout the winter. These herbs may need to be planted in very early spring or in the fall to ensure a proper period of cold. You’ll want to briefly research each herb before planting—often, adequate planting instructions will come right on the seed packet.
–
California poppy seedlings interspersed with cooking greens
–
For woodland perennial herbs with a two- to three-year germination period, planting directly in a prepared forest seedbed may be easier than keeping track of a seed tray for such a prolonged period.
In addition, the following plants are typically seeded directly because of their dislike of transplanting, or because of the larger plantings inherent for cover crops:
- Milky oats (Avena sativa)
- California poppy (Eschscholzia californica)
- Opium poppy (Papaver somniferum)
- Cilantro (Coriandrum sativum)
- Parsley (Petroselinum crispum)
- Khella (Ammi visnaga)
- Red clover (Trifolium pratense)
- Alfalfa (Medicago sativa)
- Fenugreek (Trigonella foenum-graecum)
–
I am somewhat of a control freak, so I rarely seed directly (except for the aforementioned herbs) and prefer to watch over my babes more closely in a greenhouse.
–
Seed Trays
One alternative to direct seeding is to use seed trays. Plastic seed trays are easy to acquire, come in a variety of sizes, and are often cheap or free. My nursery got its start with discarded mismatched seed trays, and I reused these for years.
If you are placing trays in a window, small greenhouse, or under grow lights, it may be advantageous to use seed trays with especially small cells. This gives you the ability to seed more plants in a relatively small area. Likewise, many medicinal herbs have longer periods of germination, so less precious space is wasted while we wait for their emergence. The only pitfall is that you’ll need to step up (transplant to a larger pot, or cell) your plants earlier—often when their first true leaves appear.
–

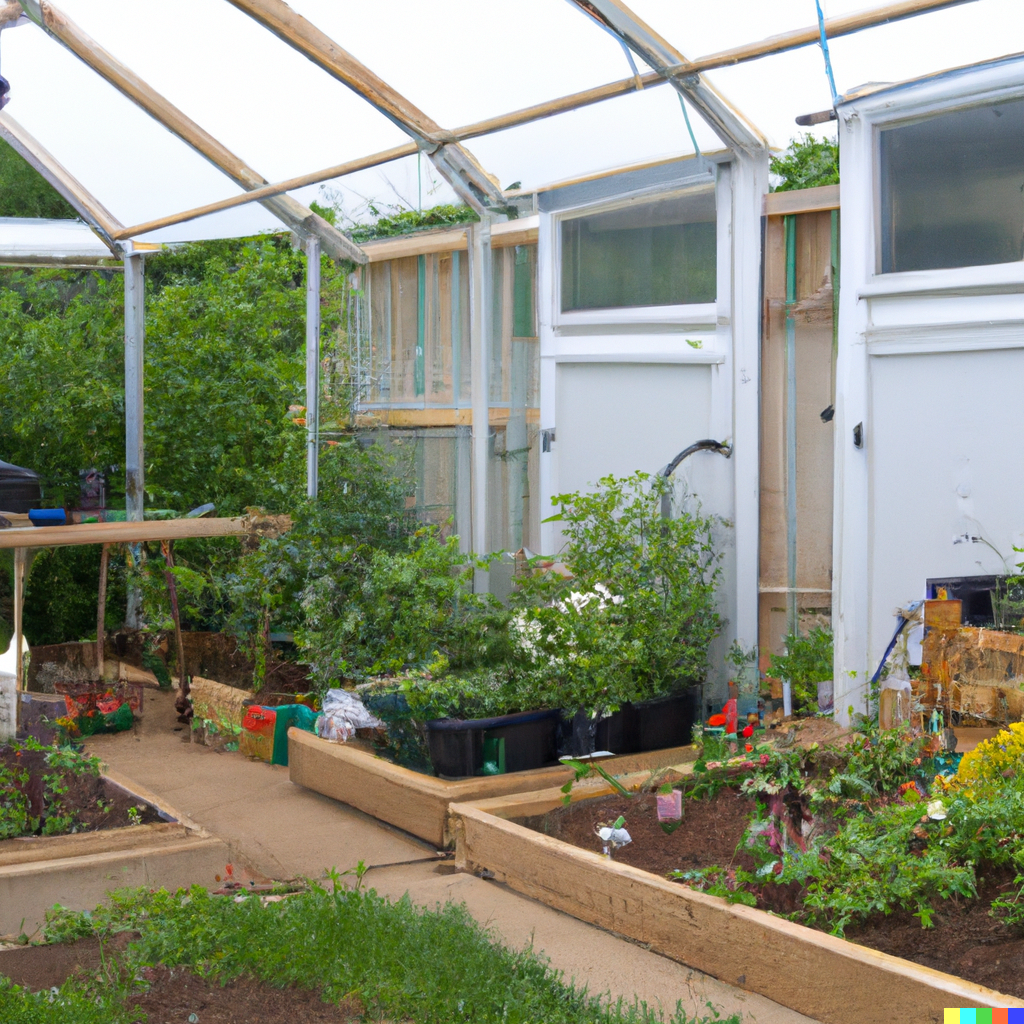
Seeding in a greenhouse attached to the south side of a house
–
A note about sterilizing seed trays: Many nursery growers will sterilize seed trays from season to season to minimize the spread of plant diseases. However, I choose not to sterilize my seed trays for a number of reasons. One, it is a pain in the derrière, and two, my soil is alive with mycorrhizal fungal spores and beneficial soil bacteria from compost and worm castings. Plants with a healthy diet and environment, including beneficial flora, have more vitality to fend off potential pathogens. I focus more on helping to create a healthy terrain than combating disease. Preventative medicine is for plants too! If you do wish to sterilize, try using a hydrogen peroxide solution instead of bleach. Brewing supply centers sell many affordable eco-friendly sterilizing products.
I do have concerns about the environmental impact of chemicals used in manufacturing plastic, and the potential for endocrine-disrupting substances to leach from plastic containers and enter the soil and the plants contained within. Recently, biodegradable pots made from peat and/or manure have entered the market, and while more expensive, they may be better choices environmentally. Unfortunately, many are not manufactured domestically, so check their origin. Which brings us to another choice—no container at all; the soil block.
–
Soil blocks
These are blocks of soil prepared using soil block makers, which are specialized metal forms with handles. The forms are used to create a tidy row of soil cells, which are deposited on a wooden or plastic tray. Soil blocks were popularized by garden writer Eliot Coleman and are preferred by many organic farmers. The individual blocks are open to the air, so the roots growing in them are air pruned and cannot become root-bound, and consequently take off more quickly after being transplanted.
The forms come in a variety of sizes and can be stepped-up with the growing seedling. Once you get the hang of preparing the soil, reaching the proper moisture balance, and using the soil makers, the block-making process can go quite quickly and efficiently. Soil block makers require a larger initial investment, but can last for many years if cared for properly. Another distinct advantage is the absence of plastic when using wooden trays and soil blocks.
–
Germination Setups
How you choose to germinate seeds depends on a few factors, including how many seedlings you’ll be growing and how much time and money you want to invest in your setup. The easiest place to germinate seeds is a south-facing window, which will provide both light and warmth. However, there are more specialized setups as well, which offer various benefits.
Sunny Windows
This is the simplest seed-starting setup, requiring little to no initial investment. There is a catch, though: you might be surprised that seedlings need even more light than a window provides. If you live in a warm climate with sunny spring days, you can put your seedlings outside on warm days in a sheltered spot that receives direct sunlight (bring them back inside for the night). If you live in an area with cloudy or cold spring days, you’ll need to add some grow lights to augment the direct light from the window.
Start your trays on a table or shelf in front of a south-facing window, preferably using a heat mat underneath the seed tray. If your seedlings grow spindly or lean toward the window, they need direct sunshine or grow lights.
Bottom Heat
Warming the soil, by applying heat under seed trays, greatly improves the speed of germination—an important factor for medicinal herb seeds, which often have lengthy germination periods. A good bottom heat system is a game changer!
There are a number of methods people use to achieve bottom heat. The most popular and easy is the electrical mat, which slides under a seed tray and comes in varying sizes. Some growers use special electrical lines that are run through a bed of sand, with the trays nestled into the warm sand. Another option is running hot water in pipes just under the surface of the soil in a greenhouse, with the heat provided by solar hot water heaters and an on-demand propane heater as a back-up heat source. Yet another intriguing system is to build a hot compost pile in the greenhouse and place the trays upon the exothermic bacterial party.
It is helpful to have a soil thermometer—an inexpensive tool available from nursery and garden supply companies—to closely monitor the soil temperature. An ideal soil temperature for most seeds is 60 to 80 degrees F (15.5 to 29 degrees C); I typically try to keep the soil between 65 and 75 degrees F (18 to 24 degrees C). It is important to not let the nighttime soil temperatures dip too low as most seeds will bide their time until the soil warms more evenly. In addition, take care to not overheat the soil, as tender seedlings can easily desiccate or be damaged by excessive heat.
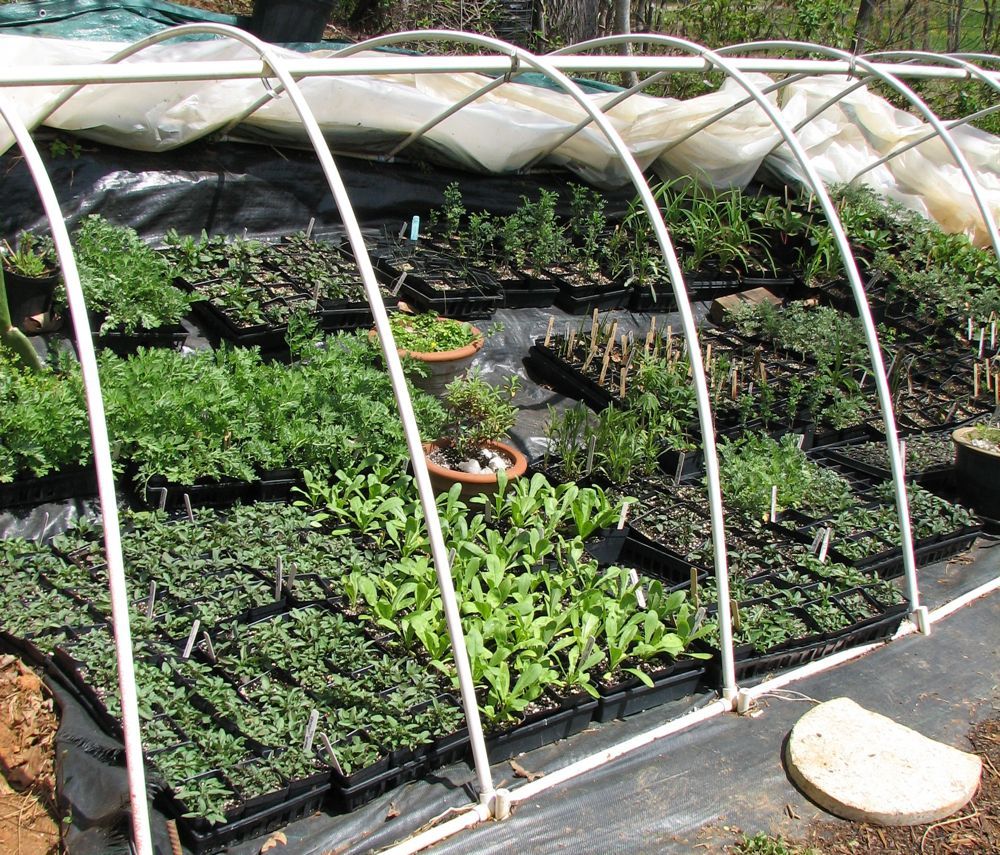
Greenhouses
How I love the quiet, timeless magic of a hot greenhouse on a cold day in early spring. Greenhouses can be built from glass, or thick UV resistant plastic (our 10 mil greenhouse plastic has lasted seven years). Features you’ll want to consider: fans, side openings, doors, and the heating system. Airflow in a greenhouse is paramount, both for lowering temperatures on sunny days and minimizing fungal diseases.
If you’re interested in building your own hoop house with little investment, consider using retired PVC pipes, which are often available for free or cheap from well drillers, who cannot reuse them. The pipes can act as the ribs of a hoop house that are supported by posts made from rebar (reinforcing metal bar) pounded into the soil. Alternately, you can dig a hole with a steel bar and place the PVC pipe directly in the soil. If you go the rebar route, 1-inch (2.54-cm) schedule 40 pipe, in 20-foot (6.1-m) lengths will make an approximately 9- to 10-foot-wide (2.74- to 3-m-wide) greenhouse with a 6-foot (1.8-m) height.
If you live in an area with snowfall, remember to create ample slope in your hoop houses so the heavy snow doesn’t pile too thickly and break the greenhouse. In our area, one intense winter storm brought down dozens of greenhouses. I have spent a good bit of time brushing heavy snow off our plastic greenhouses—snow can pile up, even with their generous slope.
Consider building a small greenhouse off the south side of your home if it receives ample sunlight. The thermal mass of the house will store heat from the sun during the day and radiate it off at night when it is needed.
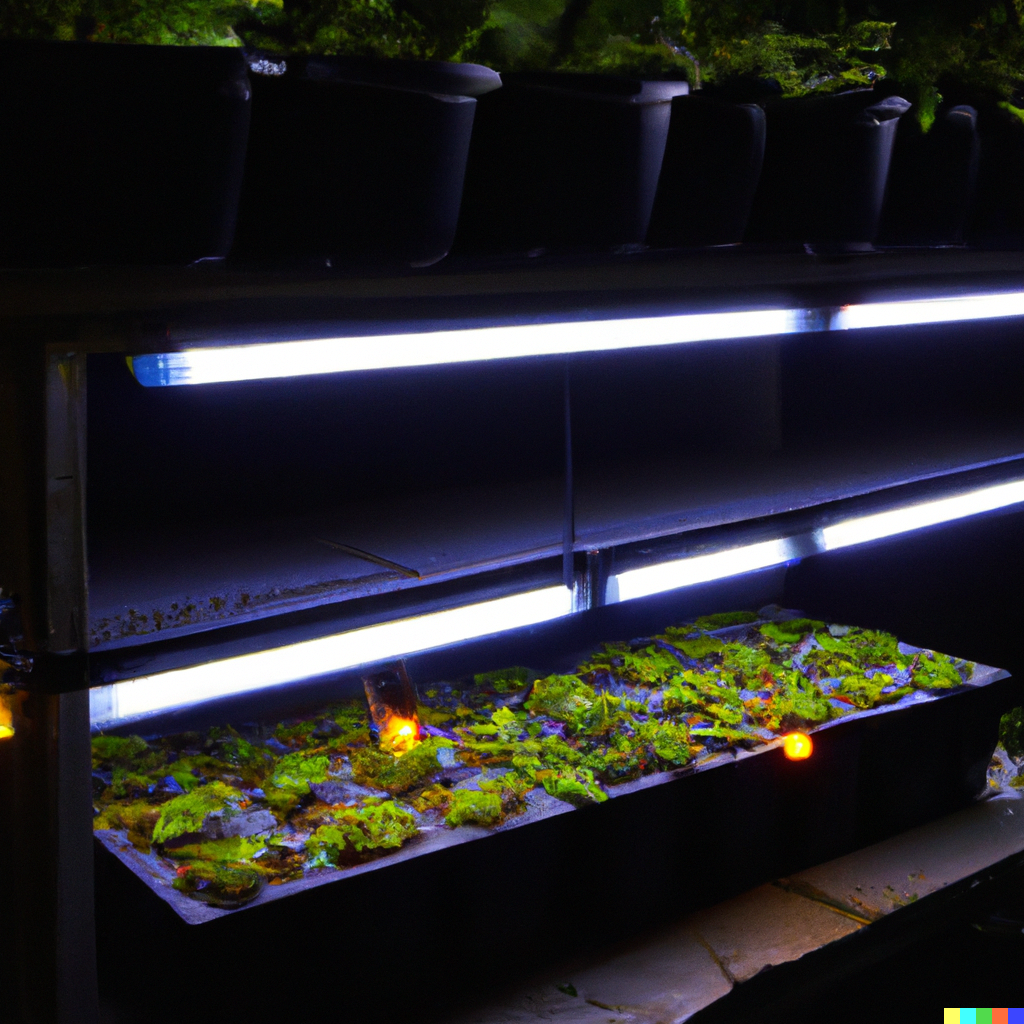
Grow Lights
This germination set-up requires a start-up investment and obviously uses more energy than other methods. Full-spectrum fluorescent lights, such as the T-5 high-output bulbs, closely approximate sunlight and use less energy than standard bulbs. Make sure your lighting source isn’t too far from your seedlings or they’ll grow spindly.
Cultivating Medicinal Herbs:
Soil, Water, and Nutrients
Growing healthy medicinal seedlings requires a simple but wholesome recipe that blends fine soil with life-giving water and essential nutrients. Don’t underestimate any of these ingredients—imagine baking a cake and leaving out the eggs or butter!
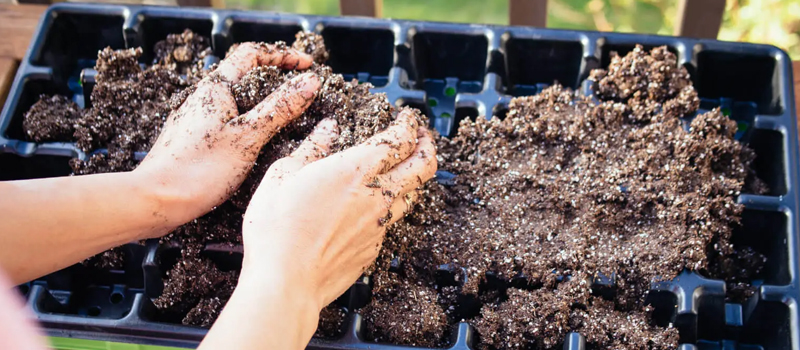
Soil
I recommend using a very fine soil mix, one with a smaller particle size than your standard vegetable starting mix. This is because it’s easy for some of the tiny herb seeds to fall into larger cracks in coarse soil and never make it up to the surface. If you’re starting fewer than ten seed trays, it makes more sense to simply purchase an organic, fine seed-starting mix. However, if you’re starting a sizable number of seeds, it can be fun and cost-effective to prepare your own soil blend.
Following is my soil mix recipe for germinating herbs. It can be used for vegetable germination as well, but I formulated it specifically for smaller herb seeds. The fertilizer is enough to get the plants started but additional fertilizer, in the form of foliar feeding, will be needed when the seedlings grow their first true leaves. Sifting the peat and using smaller perlite are important steps in keeping the texture of this mixture fine enough for tiny seeds.
Fine Germination Soil Mix for Herbs
*5 gallon bucket = 1 part
Ingredients:
- 2 parts sifted peat
- 1 cup lime
- ¼ cup bloodmeal
- ½ cup greensand
- ½ cup bonemeal
- 1 ¾ part fine perlite
- ¼ part fine vermiculite
- 1 part bagged compost (sifted, to avoid weed seeds)
- 2 cups (473 ml) worm castings
- Mycorrhizal inoculant (modify proportions according to the directions on the specific brand of mycorrhizae you are using)
- 3 quarts (2.8 L) fine sand
- Actinovate (optional, follow the directions on the label)
Yields approximately 25 gallons
Mix the ingredients on a tarp, in a large trough, or in a wooden soil-mixing box. I recommend wearing safety goggles and a mask to protect the eyes and respiratory passages from the dust and irritating particles. Sift the peat through a screen to remove large pieces and break up clumps. Place a screen with ½ inch (1.27-cm) holes over a wheelbarrow and mix the peat through. Add the lime, bloodmeal, greensand, and bonemeal and mix thoroughly. Add the other ingredients and mix with zeal and zest. Wet the soil thoroughly and add the actinovate (employ proportions as described on the label).
This soil can then be used to fill seed trays or soil blocks (I recommend pre-moistening the soil prior to filling and seeding).
–
Seeding and Labeling
There are about as many tricks to planting seeds as there are growers. Seed supply companies sell several types of seeder tools. Personally, I’ve never found any that I absolutely loved, but feel free to experiment. Some people like to make a little crease in the paper of a seed packet and tap the seed packet to slowly release its contents. Try mixing wee seeds with a teaspoon of fine sand to avoid seedling clumps.
 Most importantly, research which seeds need to be scarified or surface-sown before seeding and label seed packets accordingly (we’ll discuss these seed treatments in short order).
Use a pencil to make your seed holes and plant one to two seeds per hole. A general rule for seed depth: plant the seed one to two times as deep as the seed is wide.
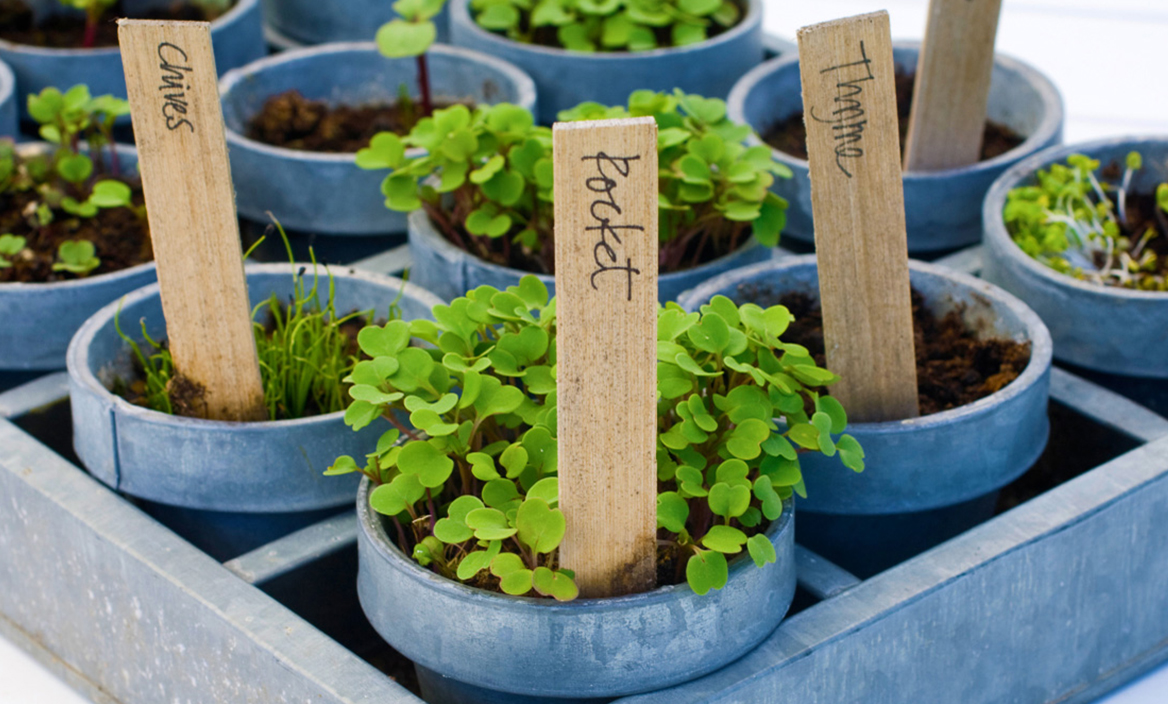
Label your seedlings with wooden or plastic tags using either a pencil or ultra-permanent markers (regular permanent markers aren’t so permanent when exposed to light and water over time).
Watering
Once your seeds have been planted, proper watering becomes essential. Medicinal herb seeds require more attention than vegetable seeds as many are teeny-tiny, or planted on top of the soil, and can easily be dislodged by regular watering.
I water emerging seedlings with a metal mister, designed for a propagation greenhouse misting system, which we attach to the end of a hose (after first adding a filter so the fine orifices of the mister don’t clog with particulate matter). Alternately, you can use a watering wand nozzle attachment turned to the mist or fine spray setting. Just make sure the spray is gentle enough for wee seedlings.
Be prepared to spend a good bit of time watering, as thoroughly wetting the soil with a fine mister is a slow going process. Another possibility is placing a non-draining tray under the seedlings and letting the water be sucked up into the soil through capillary action.
Once the seedlings develop true leaves they are probably ready for the hard knock school of regular watering, which provides the tough love needed to prepare innocent sprouts for the real world of wind and rain.
Make sure you are letting the soil dry out in between watering, not enough to cause wilting, but enough to let the soil get almost dry. Watering is a fine dance; it requires responsiveness to your dance partners—the plants—along with the musicians: light, airflow, and temperature. Flow with the changing ambient conditions, your intuition, and a close observation of the plants themselves.
Fertilization
I recommend using a small amount of organic fertilizer in your germination mix and periodic foliar feeding as the seedlings emerge. Foliar feeding applies nutrients onto leaves where they are absorbed directly. In my experience, foliar feeding greens-up plants quickly and is well worth the time and energy.
We use a diluted mix of fish emulsion and seaweed run through a sprayer, applied after regular watering on the morning of a cloudy day. Too strong a preparation can easily burn plants on a sunny day and some plants are more sensitive to the nitrogen than others. Start with a very dilute mixture and slowly increase the concentration over time as you observe your plants’ responses.
Special Seed Treatments:
Stratification, Scarification, and Light-Dependent Germination
As compared with vegetables, herbs often have a longer germination period or they sprout erratically. Therefore, many herb seeds need coaxing, cajoling, and an ear pointed toward their needs. If you want to grow herbs from seed, you may need to give them some extra attention in the form of stratification, scarification, and surface sowing. Please note, however, that some herbs, especially annuals, don’t require any special seed treatments.
These special seed treatments aren’t too hard to master after a few rounds, and an extra bonus for learning these crafty propagation maneuvers is that you’ll also be able to successfully germinate the seeds of most trees, shrubs, and perennial wildflowers.

Stratification or Cold Conditioning
Many seeds have a built-in alarm clock that lets them know when winter has passed and it’s safe to begin life as a spring-time seedling. For the gardener, stratification mimics this seasonal cycle and “tricks” seeds into thinking winter has come and gone by exposing them to an extended period of cold and moist conditions (typically in the refrigerator).
Plenty of medicinal herbs benefit from stratification, including:
- Echinacea (Echinacea purpurea, E. angustifolia)
- Anise hyssop (Agastache foeniculum)
- Skullcap (Scutellaria lateriflora)
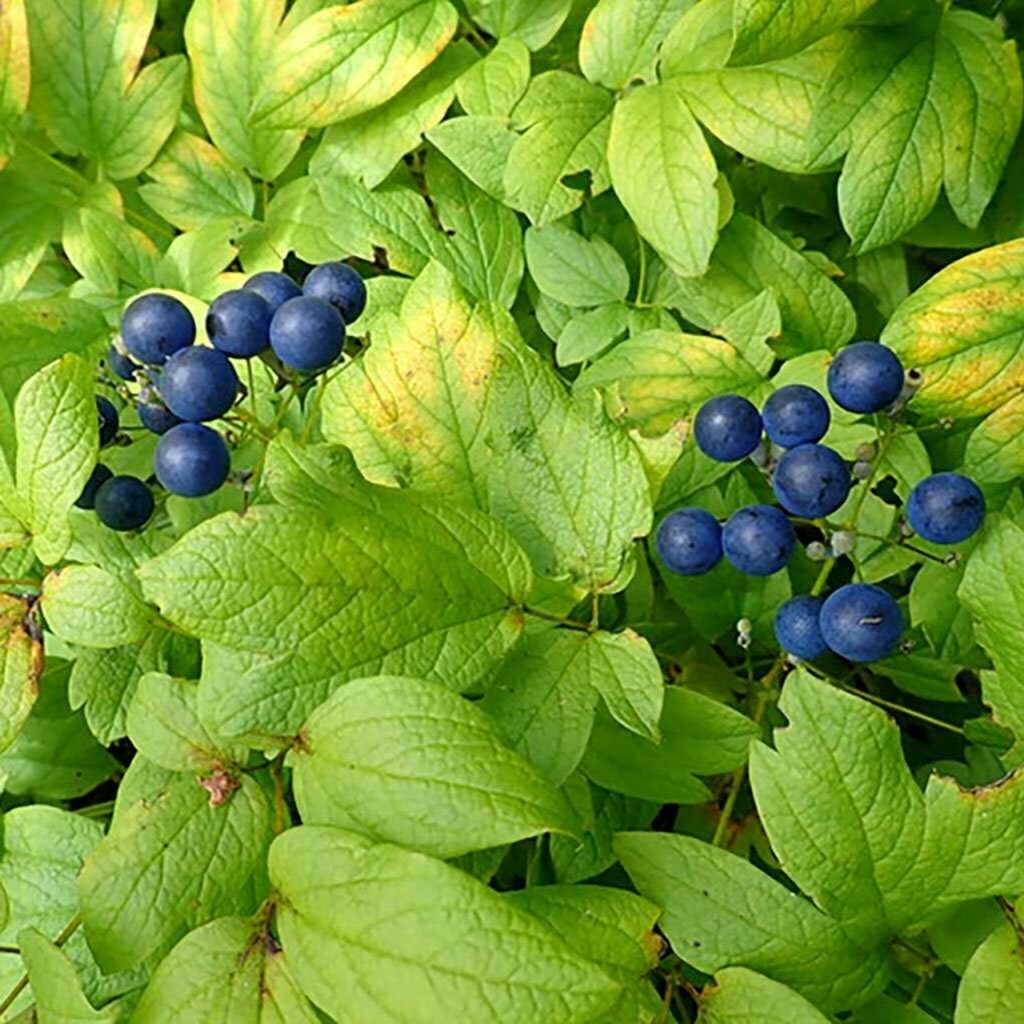
- Ginseng (Panax spp.)
- Marshmallow (Althaea officinalis)
- Passionflower (Passiflora incarnata)
- Stinging nettle (Urtica dioica)
Light-Dependent Germination
Some seeds need to directly embrace the sun’s rays to germinate. For these light-lovers, we sow them right on the surface of the soil and very gently press them in so they make contact. They should then be watered very gently by misting or bottom watering so they will not be washed off the surface of the soil. Many very small seeds are treated in the same manner, as they do not have the reserves to grow above a thick layer of soil.
A few examples of herbs that need sunlight to germinate are:
- Angelica (Angelica archangelica)
- Bee balm (Monarda spp.)
- Catnip (Nepeta cataria)
- Mullein (Verbascum thapsus)
- Saint John’s wort (Hypericum perforatum)
- Violet (Viola spp.)
- Yarrow (Achillea millefolium)
Scarification
Many seeds have a thick, impervious seed coat that must be nicked or cracked before the seed can germinate. In nature, fire or the digestive enzymes of seed-dispersing animals sufficiently damage the seed coat. You can mimic these processes by rubbing the seed between two pieces of medium-grit sandpaper until you see a little bit of the seed’s guts poking through—this is the endosperm, which is the seed’s nutrient reserves. The endosperm is usually a lighter color and a different texture from the seed coat.
Sometimes this is done before stratifying seeds and sometimes at the time of sowing. Some of the herbs that will germinate better with scarification are:
- Astragalus (Astragalus propinquus)
- Hibiscus (Hibiscus sabdariffa)
- Licorice (Glycyrrhiza glabra, G. uralensis)
- Marshmallow (Althaea officinalis)
- Passionflower (Passiflora incarnata)
- Red root (Ceanothus spp.)
- Vitex; Chaste Tree (Vitex agnus-castus)
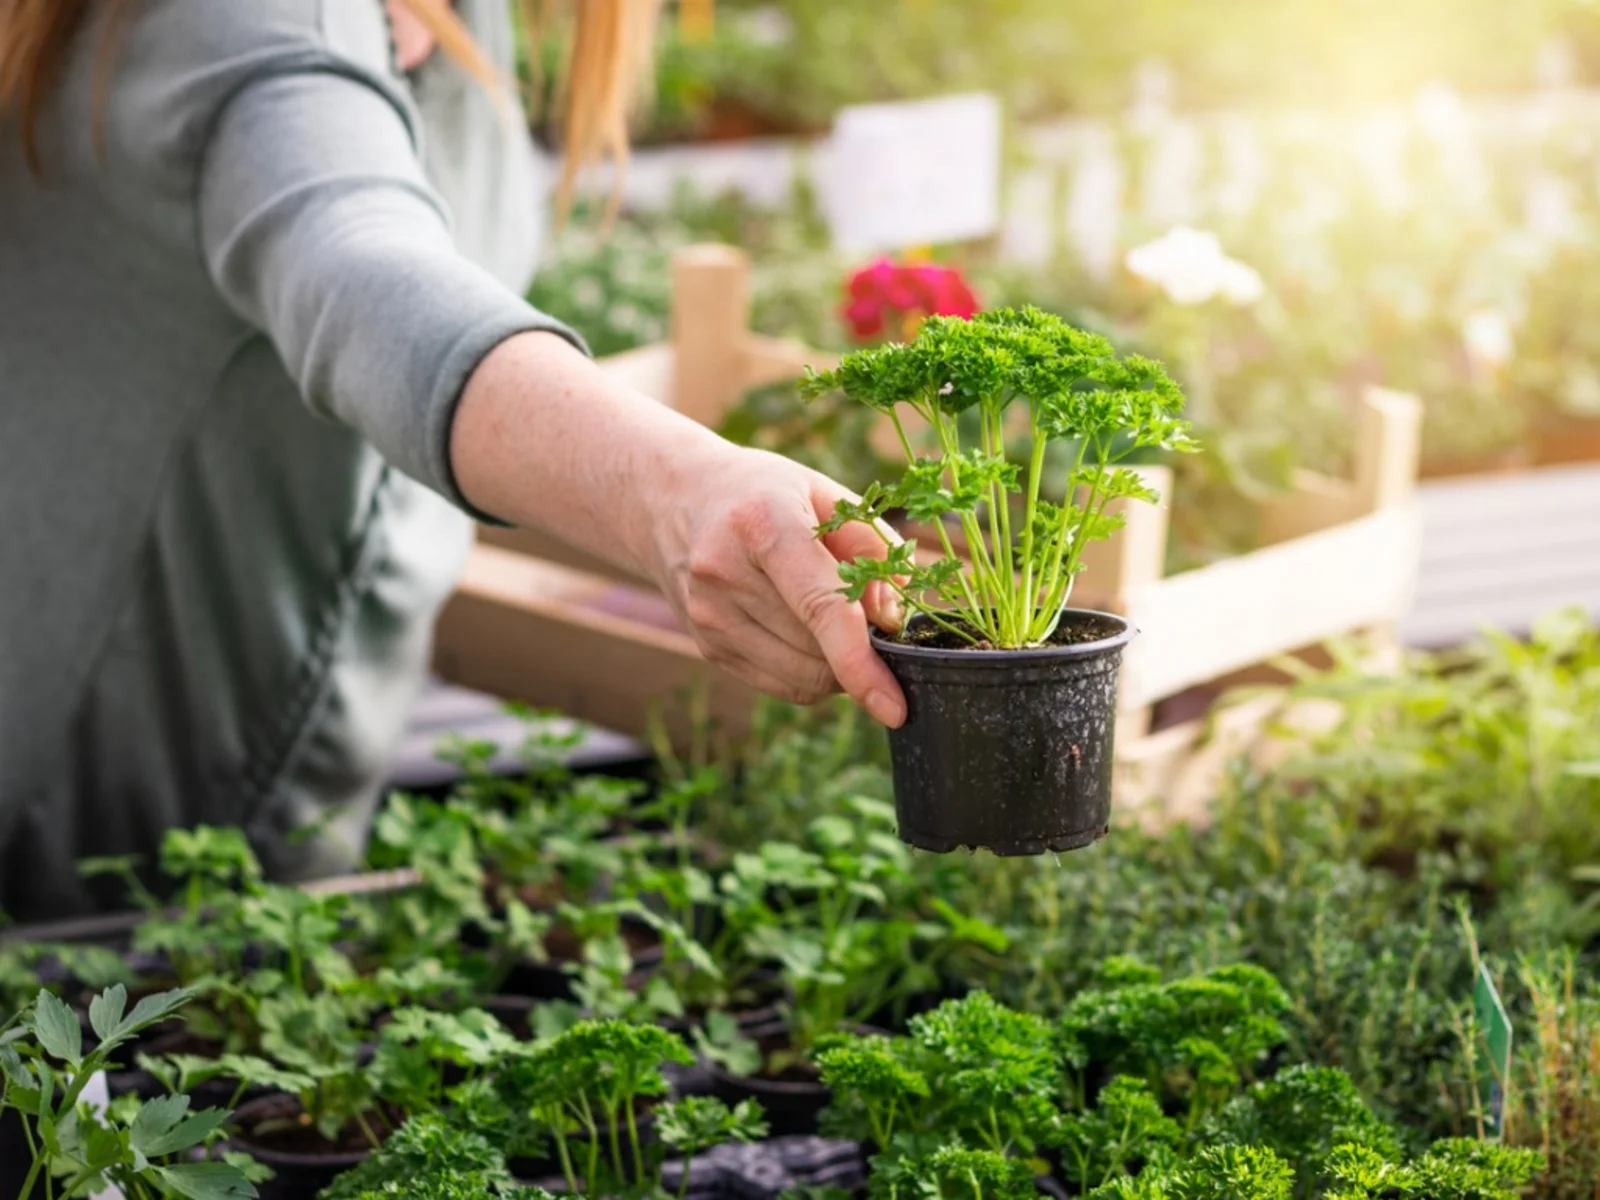
Transplanting Medicinal Herbs
Transplanting is a tender and exciting event—a graduation of sorts for your growing seedlings. If you’ve been pampering your young ones in a sunny window, under grow lights, or in a greenhouse, consider hardening them off by gradually exposing them to increasing amounts of sunlight and wind before you plant them directly in the garden. Otherise, they may burn, wilt, or even expire when placed out in the elements. I typically begin by setting them outside for 1-2 hours, increasing their time under the sun each day until they’re fully acclimated.
I recommend planting your seedlings in the garden on a cloudy day, or in the afternoon, and watering them in well. You can use a diluted seaweed tea or willow twig tea to encourage root growth. If your plant is root bound (roots coiled around the edge of the soil), try and break them free and loosen the roots before planting.
Troubleshooting Common Problems with Seedlings
My seedlings are spindly, yellowish, and stretching toward the light.
Get those babes to more light, pronto! Put them outside on sunny warm days in full sunlight (just a little on the first day, building up more time with each mild sunny day).
My seedlings are keeling over, pinched at the level of the soil, and now it’s spreading like wildfire; the neighboring seedlings are also biting the dust.
You’ve got yourself a case of damping-off; a commonly encountered disease affecting seedlings, which is caused by a number of fungi. Try increasing ventilation with fans, open windows, etc. and increasing sunlight (if possible). Take care to not overwater (see previous notes on watering). We add sand to our soil mix, and many growers add a fine layer of coarse sand on top of the soil, both of which discourage fungal activity. In addition, we use an organic biological fungicide from a product called Actinovate. We add this bacterial inoculant to our germinating soil mix and periodically water our seedlings with the diluted spray.
My seedlings are slightly yellow and just don’t seem to be growing very fast.
Your seedlings probably need more nitrogen. Water them in with diluted compost tea or fish fertilizer. See the previous notes on fertilization.
Resources
We’ve compiled an extensive list of medicinal seed and herb start suppliers on the blog that you can dig into here. Or, you can browse a few of our go-to resources below:
Strictly Medicinal Seeds: Formerly known as Horizon Herbs, this Oregon-based business has the largest collection of organically grown medicinal herb seeds and plants (including woodland medicinals and native plants). One of my go-tos for over two decades. Check out the detailed propagation profiles on their website!
Richters: A Canadian nursery offering a huge selection of herb seeds and plants, including rare or hard to find herbs. Sells rare cultivars. Based in Toronto.
Prairie Moon Nursery: My favorite resource for native plants of the eastern and central United States. Their website has loads of germination and cultivation info, super affordable prices, organically grown plants (although not certified), and the company is cooperatively owned.
Fedco Seeds: A cooperatively-owned seed and garden supply company based in Maine. Offers a wide variety of medicinal and culinary herbs, native plants, and edible shrubs and trees. Specializes in cold-hardy varieties. They also have a great herbal seed planting guide.
Johnny’s Selected Seeds: Large selection of seeds and plants, with organic options. A great go-to site for general farm supply needs, with garden tools, soil amendments, etc.

