Beyond your cup of joe in the morning, most of us haven’t given any additional thought about what we drink that could help us in the long run, or even in the short term for that matter. We grab whatever is handy or in the fridge at work or at home and guzzle it down when our brain gives us the notice we are thirsty. But if you dig a bit deeper into what we can intake that could be more of a benefit to us, up and above the sugar rush or the caffeine drip, and assist us feeling our best.
There are therapeutic properties that can go beyond the satiation of our thirst. The phytochemistry of what we drink, the aromatic compounds, as well as the relaxation you feel preparing and sipping on that cup of ingredients you’ve just infused with water. As you go deeper into your study of herbalism, as I have, I found myself wondering what exactly is an infusion or a decoction, or an elixir. And as I delved into the info, I found there are many more types of ways you can bring the soothing and healing properties of God’s green earth into your body.
To get them all straight is why I’ve created this simple guide to expanding your, as well as my own, herbal apothecary.
In this we’ll cover:
- The differences between the most common herbal extracts
- What each type is best used for
I’ll also share recipes to start with, so you can easily expand your family’s herbal apothecary.
What on earth are herbal extracts?
There are certain health promoting compounds that can be found in the plants around us, whether they be wild or cultivated. Herbal extraction is the process of drawing out the therapeutic components of a chosen herb or plant. In many cases, the beneficial compounds we want are tucked away within fibrous material of the plant that is challenging for our digestive systems to fully break down. You can use herbal extracts to help solve this problem by increasing bio-availability.
Each extraction can be singular (one plant or herb and concentrated compound) or there can be a combination of herbs together for a larger desired effect, but most of the time you will see these in a liquid based form ready to be ingested.
The liquid used to extract an herb is called a solvent or the carrier, or in traditional herbal language the menstrum. it is the means by which the wanted compounds can be best introduced to your bodily systems. Common solvents are water, alcohol, vinegar, and glycerin. Each solvent has specific things it’s good . . . and not so good . . . at drawing out, so you use different ones based on the type of herb you’re working with, and the desired effect you want have.
We’ll start with the easiest and most known type of extraction . . .
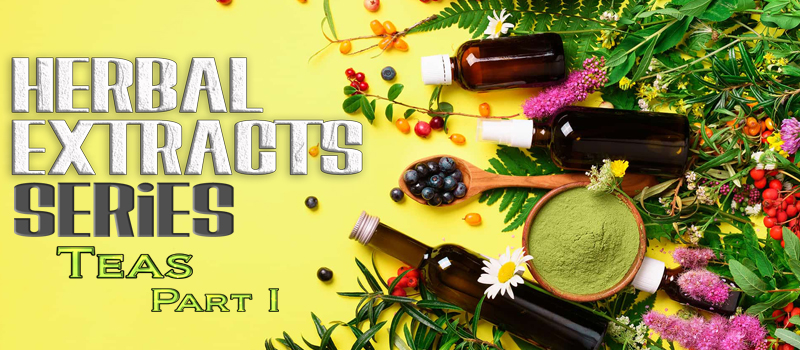
Teas – Part I
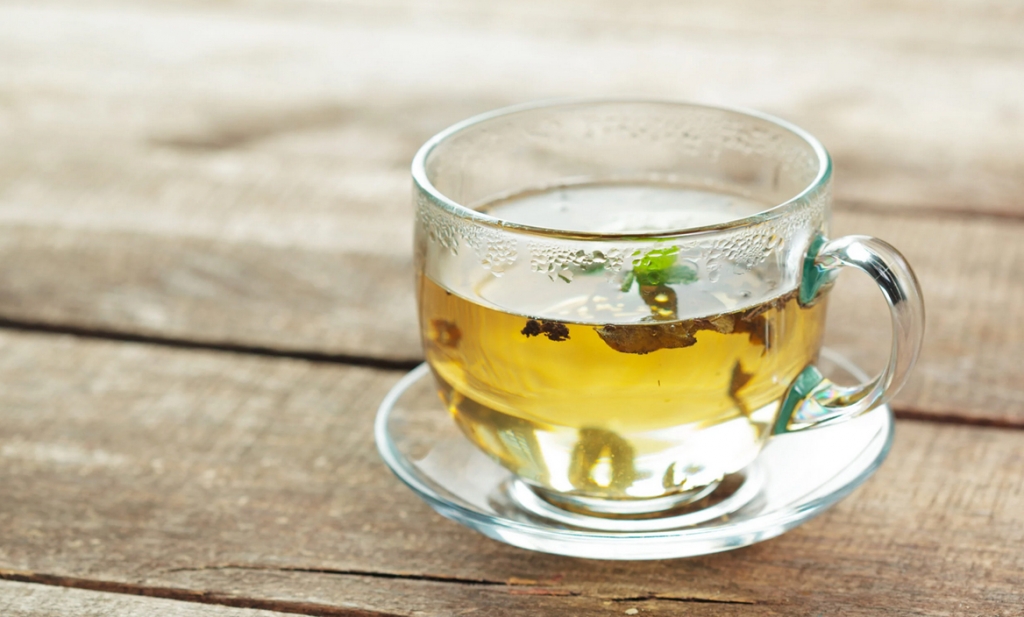
Yep, teas are more than what you can get hot or cold at the local shop. Singular herbal teas, chamomile, echinacea, etc. are extractions that use water as the solvent. Easy and affordable, they work best with pleasant-tasting herbs that you don’t mind sipping on. They are the “Emergency Frontline” of getting the beneficial compounds into working for you. Because they can be made quickly rather than needing to infuse for 4-6 weeks, with more complex concoctions (see infusions down below).
In addition to its internal benefits, tea can be used externally a compress or a poultice for scrapes, bumps, and other skin issues. We’ll dive into how to make a compress and poultices later in this article.
But first, let’s cover the two main types of tea: infusions and decoctions.
 Infusions
 Infusions
This most often-made type of extraction uses delicate plant parts like flowers, leaves, and stems, however, cold infusions (which is explained in detail below) are sometimes used for a plants’ roots. Either way they’re usually made with aromatic herbs in one of three ways:
Hot Infusion
This is what you usually get when someone offers to make you a cup of tea, in reality it means a hot infusion. This type of herbal tea is made by pouring boiling water over your herbs, letting them steep for a determined amount of time (usually 5-20 minutes), and then straining and drinking as soon as it’s cool enough to tolerate. I like to cover mine while steeping to keep in the aromatic compounds.
Hot infusion recipes try:
- Herbal Sports Drink-Replace Electrolytes
- Adaptogenic Chai Tea
- Anti-inflammatory Turmeric Ginger Tea
- Yellow Dock n Licorice System Detox Tea
- Raspberry Leaf Tea – Pregnancy Assist
- Deep Sleep Tea
Cold Infusion
Most often used for mucilaginous herbs that form a gel-like consistency when mixed with water, this method involves pouring cold or room-temperature water over the herbs and allowing to steep for 4-8 hours before straining.
This method is used for those singular herbs whose compounds might otherwise be damaged by heat or rendered insoluble by alcohol.
Cold infusions made with mucilaginous herbs like hibiscus, marshmallow root and slippery elm bark are wonderful for soothing throat, digestive tract, and urinary tract irritation, and are also traditionally used externally as a poultice for minor burns and wounds. (Instructions for making a poultice are included below.)
Cold infusion recipes to try:
Long Infusion
Nearly everyone knows and loves how a long soak in a jacuzzi or a hot tub feels like. Beyond the wonders doing so can do for us, it can also be for specific infusions. The time duration isn’t as long as you might think, if its more than a few days then you are getting into the Extractions and Decoctions (which are found in detail below) type of deal. As a regular cup of herbal tea may take a few minutes, 20 minutes tops, a Long Infusion takes a much longer time to steep.
To make a long infusion, fill a quart-sized heat-proof jar about 1/4 full – a little less for finely ground herbs, a little more for fluffy herbs. Pour boiling water into the jar until the herbs are covered and the jar is mostly full. Stir, cover with a lid and let steep for at least 4-8 hours, then strain and drink.
For the more cold temps types you can do the same in the quart sized jar, adding your choice of fruit, or vegetables, or fresh herbs. Or a combination of all three, pour the water in and let it soak for 24 hours. It can be kept for 3-5 days refrigerated. If you want to preserve it for longer, after you remove the fruit, veggie and herbal remnants consider freezing it into ice cubes!
Long infusion recipes to try:
Warm or Hot Long Infusions – Use the method outlined above to make a nutritive infusion with one of the following herbs: nettle leaves, mullein leaves, or an oatstraw blend.
Cold Temp Long Infusions – Similar to the cucumber or lemon water you can get at the fancy hotels, you can spruce your cold beverages up and not have to spend an arm and a leg to get a taste – Consider combinations like: Blackberries, Orange & Ginger; Pineapple, Coconut, & Lime; Blueberries, Lemon & Rosemary; Honeydew, Cucumber & Mint; Grapefruit, Pomegranate & Mint; Watermelon, Kiwi & Lime; Mango, Raspberries & Ginger; Strawberries, Lemon & Basil. Try and Enjoy.
Decoctions
 Decoctions
To get the healthy benefits from some different types of herbs like roots, bark, seeds and woody plant parts you will need to do a little coaxing to release their therapeutic compounds, and that’s where decoctions come in. They’re made by placing the herb in water and simmering for 20-60 minutes, depending on how concentrated you want the decoction to be.
You can keep the rooted, or barked, or seedy parts in their original chopped up form, or as some herbalist like to grind, crush or even powder the herbs to increase the surface area of the herb before placing them into the decoction process.
General directions for any decoction you want to make:
- Use the teaspoon to one tablespoon of herbs per cup of cold water
- Add the herbs and cold water to a pot
- Place that pot on the stove and bring up to a gentle boil
- Put a lid on the pan and lightly simmer for 20 to 40 minutes
- Remove from the heat and let the decoction cool to drinking temperature
- Finish up by straining out the herbs
- You can often use these same herbs to brew up a new batch of decoction a couple more times as long as the decoction is still strong after brewing
- Refrigerate leftovers and use within 48 hours
In addition to being taken internally for their high mineral content and abundance of other beneficial compounds, decoctions can also be used externally to make a compress. (More on that below.) Also for some home remedies the decoction can be the first step taken towards herbal syrups and oxymels
Decoctions can be stored in the fridge for several days and sipped as needed.
Decoction recipes to try:
- Roasted Dandelion Root Cacao
- Busy Bee Eleuthero Root Decoction
- Lemon Ginger Cold & Flu
- Happy Adrenals Decoction
- Valerian Root De-Stressor Decoction
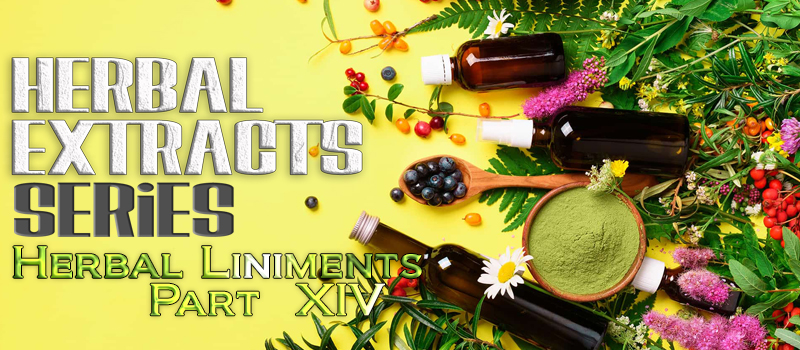
In this series you will be able to see and gain recipes for your home apothecary remedies that will become the mainstay in your household. Here’s what you can see and learn more of:
- Teas – Infusions and Decoctions
- Tinctures
- Glycerite
- Herbal Syrups
- Herbal Oils & Salves
- Herbal Vinegars
- Herbal Honeys
- Oxymels
- Distillations
- Elixirs
- Electuaries
- Herbal Soaks
- Compresses & Poultices
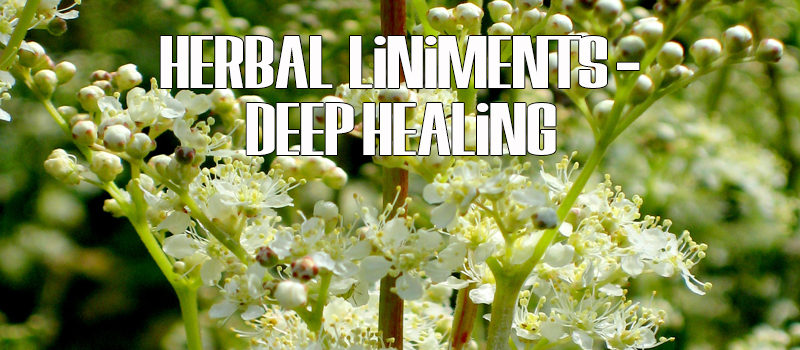
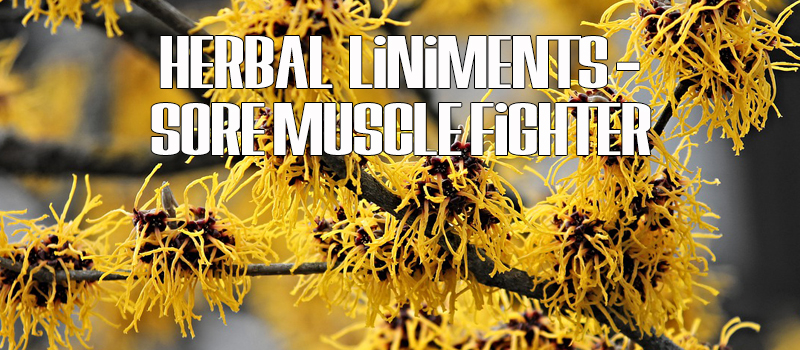
- Liniments
Come and join us in bringing back the knowledge known by our ancestors and practiced for the health and benefit of those that came before us!