They did it for the astronauts
Beyond having the powdered drink Tang and bubble gum in a tube, the space program in America also came up with a great way to preserve the freshness of the food that they took up with them. And as they got into the Space Shuttle Era, they seemed to be able to perfect the supply of whole meals in vacuum-sealed pockets ready to be warmed and eaten.
This fantastic idea was commercialized and over time, has become near perfect in the preservation of food for short to middle terms of time.
Vacuum Food Sealers Work Great For All Foods
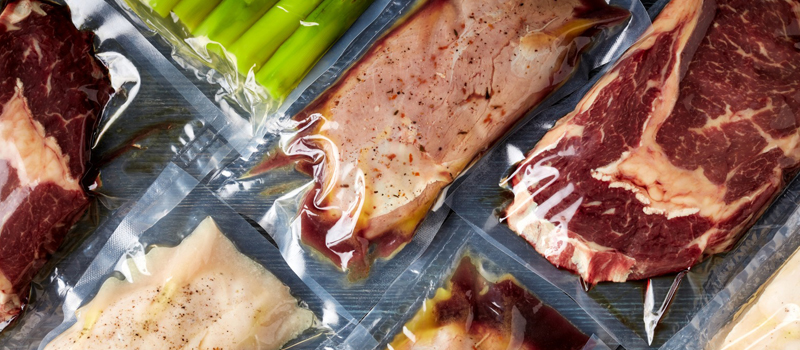
When it comes to food preservation, a vacuum sealer can certainly be your friend. Frozen foods last up to 7 times longer when vacuum sealed. There’s nothing worse than opening up that frozen canister and see or even taste the freezer burn. Vacuum sealers save you money by keeping the air away from the food and as a result reducing waste.
Now you can go to those big-box grocery stores and load up on their latest bulk deals. Sometimes you can catch some major bargains and have the ability to preserve them for longer-than-normal term use. With a food sealer, you can put back meats in your freezer or buy flour, rice, and other grains in larger bags than normal.
Flour is cheaper if you buy it in a 20-50 lb bag but if you only use 5 lbs a month then it has a lot of opportunities to get contaminated with moisture or bugs without being stored properly. Bulk buys make food storage a lot more realistic and affordable.
Affordable Food Preservation
Vacuum sealing your food is not a method of food preservation to use if you are wanting to keep it for more than a couple of years. (Freeze Drying, as well as Canning, are better for that.) Using food sealers for some foods that you want to use in 18 months or less can be a very economical way to preserve the foods you frequently eat. Now, if you combine this with dehydration, the fruits and vegetables that are dried and vacuum sealed with moisture absorbers can keep for years economically for pennies per freezer bag.
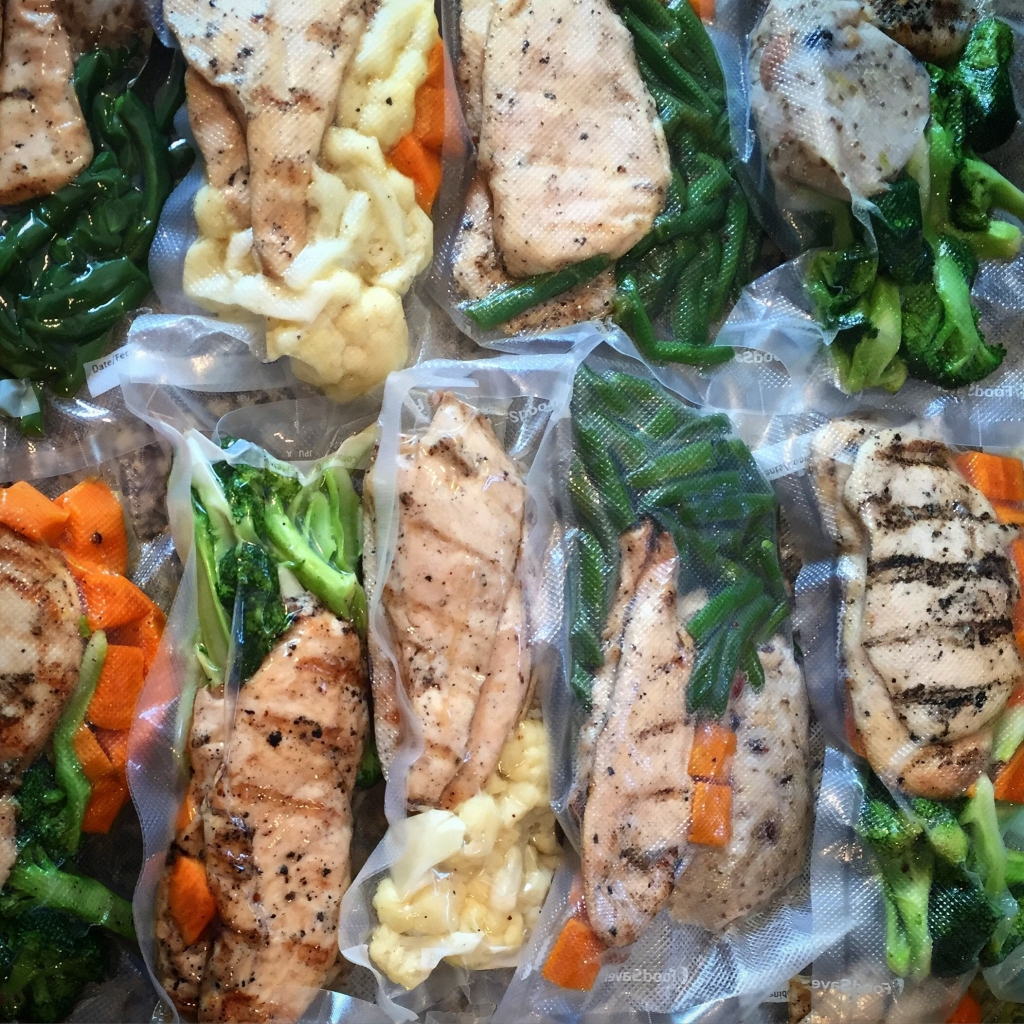
If you add up all the ways you can preserve food, WITHOUT having a lot of setup and expense, the two, canning and vacuum packaging, are the preferred methods. I enjoy canning foods in mason jars and reusing jars can cut the cost overall. But if you use the vacuum sealer, the bags, and get the jar sealer attachment you may be able to save even more. In your food storage efforts, it is good to diversify how you are storing that food. Having your long term covered with the commercially purchased freeze-dried, and having your staples in tin cans and sealed buckets, keeping your treats and produce in the sealed mason jars with your food and prepared meals in vacuum-sealed packs would be the optimal way to do that.
 Bags
Bags
Most bags can be used universally but be aware of cheaply made bags. There may be thickness issues and you definitely want to make sure that they are BPA-free. Some vacuum sealers do not work so well with mylar bags so when you are looking to buy your sealer, make sure you check into that feature before you buy your unit.
1. Always Use An Oxygen & Moisture Absorber For Dry Foods
While the idea with a vacuum sealer is to take out the oxygen, that doesn’t mean that there is not some residual oxygen or moisture that can allow food to spoil sooner rather than later. Many times there is moisture that is left within the food itself and that can have small oxygen pockets present as well. It’s always better to be safe than sorry when it comes to spoilage.
2. Commercial Versus Regular Usage
As you get more proficient in using your first vacuum sealer, you will obviously want to get bigger and better and have more bells and whistles type of model. Keep in mind that the main difference in them is speed and rate of suction. Some sealers may even be able to seal several packages at once.
Again the decision needs to be made if you want that higher-grade model or you get two or three of the cheaper kind and just work those back and forth. Depending on how much you are looking to use your vacuum sealer could be the deciding factor. Regardless, make sure you check out the reviews of any new machine you are looking to buy. You just don’t want to be stuck in the middle of sealing up a half side of beef and your chosen sealer model going on the fritz, so choose wisely.
My advice is to think long-term and buy for quality as inexpensively as you can and at least have that all-important backup if you are going with a cheaper model.
Going Bagless and Still Getting that Vacuum Seal
If you have ever used a vacuum-sealer, you know that one of the pitfalls of using one is having to buy more bags. Bagging and rebagging can be a real hassle for those foods you are continually eating but still have some remaining. However, there is something that you can do to vacuum-seal food without having to buy replacement bags. It’s not a complete replacement for using the bags, but in some ways, it can be more efficient money and time-wise.
That’s right, I’m talking about a jar sealer attachment. There are jar sealer attachments for both wide-mouth and regular-mouth jars. Mine came with the regular-mouth and we bought the wide-mouth separately. This is a good investment as it allows you to use both sizes of jars you may have laying around your kitchen.
Getting started with the jar sealer is as simple as sealing a bag. To set it up, you place the hose into the sealer and the other end into the top of the jar sealer attachment. Then, you fill your jar with the delicious food item you’re going to vacuum seal and place the lid on top. Don’t put the ring on just yet. With the jar sealer connected to the vacuum sealing unit, place the attachment over the jar and firmly seat it on top. Then, press the button on the sealer unit. The air will be sucked out of the jar and when the light goes green, release the button. When you’ve confirmed that there is a vacuum, then you can put the ring on.
The vacuum inside seals the lid onto the jar. If the lid is damaged, it might slowly leak air back in, so use only lids that aren’t damaged or have holes. However, the great thing about vacuum-sealing these jars is that you can reuse the lids. Because you’re not heating them up, the sealing compound on the lid isn’t destroyed, like in normal canning. So long as the lid holds the vacuum, you can reuse it.
Because there is no bag crushing the contents, you can seal up the items that are fragile or easily crushed. It’s also quite easy to reseal, so keeping your bulk herbs and spices just became a lot easier. After you (carefully) open the lid and take out the amount you need, just run the sealer and it’s vacuum-sealed once again!
Anything that you want to use a pinch or a nibble of, this is ideal for. The lack of air extends the amount of time you can keep the food item on the shelf or in the fridge or freezer. Just remember, that vacuum sealing isn’t like a water bath or pressure canning and most things will need to be kept in the refrigerator or freezer if they are not dry goods (powders, salts, sugars, etc.).
Sealing Tip #1: You can marinate meat in record time. Putting your meat in the jar along with your favorite marinade and vacuum-sealing it will cut down the amount of time you need to marinade. The act of sealing will act to infuse the liquids into the meat and the vacuum allows the juices to penetrate into the meat much faster. What used to take hours now takes about 20-30 minutes.
Tips For A Good Seal
1. Don’t overfill the bags
Overstuffing bags is a rookie and a common mistake. You actually cost yourself a lot of time when you try to do this. Beyond crushing your food and not getting a good seal, saving a few bags here and there is not worth the hassle.
2. Good contact with the food is essential
If there are bits of food or debris inside the bag where the seal is to be made or if there is anything on the gasket of your sealer it can affect the performance and seal. If you are not getting good suction then this is something to check out.
3. Having the right type of bag
While most sealers are able to handle the vast majority of bags it is best to double-check its capacity before you buy bags. If you like to use Mylar then be extra careful because these bags are so smooth that some vacuum sealers cannot grip the surface well enough to get a lot of suction.
4. Allow machine to rest occasionally during big jobs
It is hard to say the exact schedule you should use for bigger vacuum sealing jobs but if your sealer seems to be getting a bit hotter than it should then give it a rest from time to time.
Heavier duty sealers may be able to handle fairly continuous use for hours but just be aware that doing too many bags too fast with a lighter duty sealer may decrease its life considerably.
Overall TakeAway
Ordering an inexpensive vacuum sealer is a good way to get started with this type of food preservation. Keep at it and plan your food storage correctly to have the best effect possible. And if you decide that it is not for you then you haven’t invested too much in it.
If you decide to use a sealer a lot then upgrading to a heavier duty model means you can either keep the less expensive one for a backup or give it to a friend or family member to help them get started putting back food and being more prepared. Either way, you are getting it done!


 Bags
Bags


