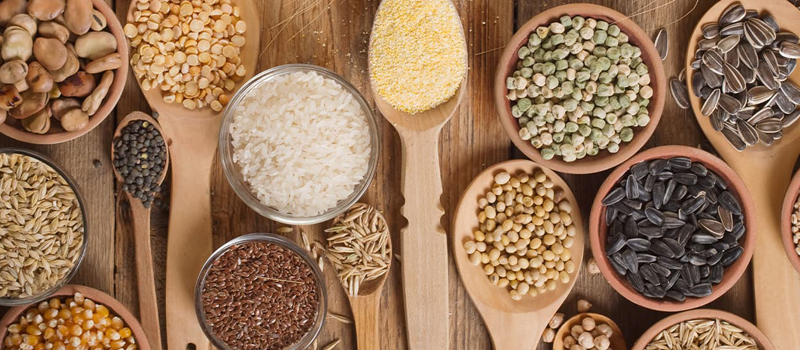
I remember going into my grandma’s “catch all” cupboard when I was a child and was amazed at her collection of the seeds of her favorite flowers and vegetable plants. Back in the day, it was just a way of life to keep those types of essential things around. You never knew when you were going to need them nor if they were going to be available when you wanted them.
This, in particular, when it comes to having the seeds you need for planting hasn’t changed much from then. Whether or not you currently have a food garden, practical wisdom says you should stash away some heirloom seeds for the long term.
If a time ever came when food was in short supply or overly expensive, (ahem… not at all what we are now experiencing with supply channel disturbances, crops shortages galore and inflation increasing) your stored seeds could become a lifeline for you and those you love. Stored seeds could be used in your own Aquaponics system, permaculture garden, in a community garden, or even as tender in a barter situation.
The question then needs to be raised, “What is the best way to store seeds for the long term?” We’ve recently discussed the need for your own Seedbank; here’s a few more ideas on how to store those heirloom seeds you are fixin’ to gather.
Storing Seeds for the Long Term
The enemies of seeds are similar: heat, light, and humidity. Some sources also indicate that oxygen is a problem with seed storage as well.
Here are some tips for where you are storing your seeds in your Seedbank:
- Keep your seeds at a cool to cold temperature of 40 degrees or less.
- Avoid fluctuations in temperature – no storing them in an outside shed, garage or storeroom that is cold in winter or hot in summer.
- Avoid light and never store seeds in direct sunlight or a well-lit room.
- Keep your seeds in moisture-proof containers.
As a Side Note: Mylar bags or mason jars as long as you have a way to suck as much of the air out of the container and have those little pouchie thingies a.k.a. a dessicant, that take care of any remaining oxygen. Heck, in a pinch, even a standard Ziploc bag will work if you take care to squeeze out all of the air first. If you are unsure of the moisture level, check your bag after a day of storage and see how your seeds look. Better to be safe than ruining all your leftover seeds for planting next year.
- As with your food stores, rotate seeds every few years. This is not 100% necessary but if you are gardening anyway, why not try to rotate?
- When you are ready to use your seeds, keep them in their closed storage container until the seeds come to room temperature. This will prevent unwanted condensation from settling on the seed themselves.
- To store your own saved seeds each year, spread them out, and allow them to air dry. Once you got them dried, put them in envelopes or even repurposed medicine bottles, and label them. You can then store them in your refrigerator or freezer just like store-bought seeds.
Testing Their Germination
If you aren’t starting out with fresh seeds, or have inherited a collection of them, something that you may want to do before planting saved seeds is perform a germination test. This will help you determine how viable they are for planting. So, for example, if you determine that they are 60% viable, you can start 40% more than you would normally start to come up with the requisite number of plants.
A common method to test the germination rate is to take a paper towel and dampen it nearly to soaking. Count out 10 seeds, place them on the paper towel, then carefully fold it to fit into a plastic bag. Place your bundle in a warm spot on your kitchen counter, making sure that the bag remains open slightly to allow a little air to enter it.
Check frequently and when the seeds have sprouted, determine the germination rate. Hint: 8 seeds out of 10 is 80%.
Keep an Eye Out on Your Seed Sources
For years, seeds that you can find in our local home and garden stores have carried seeds that have been scientifically manipulated in such a way that they could not be successfully saved and remain true to form. This was good for the seed companies but bad for people. Be aware!
Thankfully, there are a number of sources where you can obtain non-GMO seeds (not genetically modified) and non-hybrid seeds. These non-GMO, non-hybrid seeds are the ones you are going to want to save for your DIY survival vegetable seed bank.
Extra Content: Create Your Own DIY Survival Seed Bank
Overall TakeAway
Gardening is a valuable skill that everyone who wants to be self reliant needs to learn. Starting earlier than later would be the ideal as well. No matter what place you find yourself in, you can always start even with the most meager of means to do so.
Even if you aren’t able to plant and grow, still, you can make it a point to collect seed packets and store them for the long term, properly sealed in your freezer. You should never know when they may become handy for food-growing or barter purposes in the days or years ahead.


