 You don’t really need specific recipes to make your herbal salves. Just choose herbs to suit your purposes and follow the directions.
Equipment Needed
- Choices of Herbs
- Choice of Oil Carrier
- Jar for the Infusion
- Cheesecloth
- Storage bottles and/or tins
Ingredients to Put Together
- 2 tbsp chopped Garlic cloves
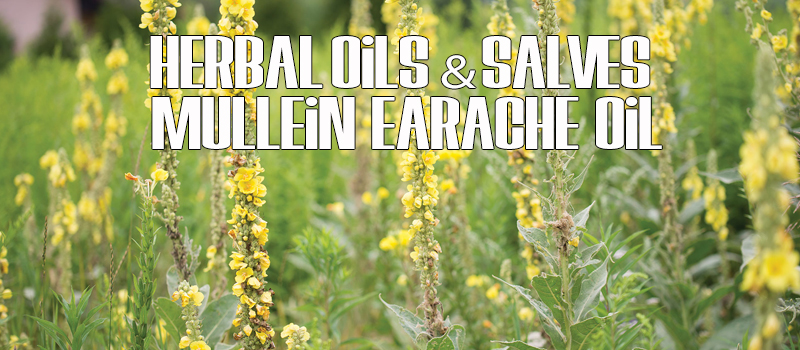
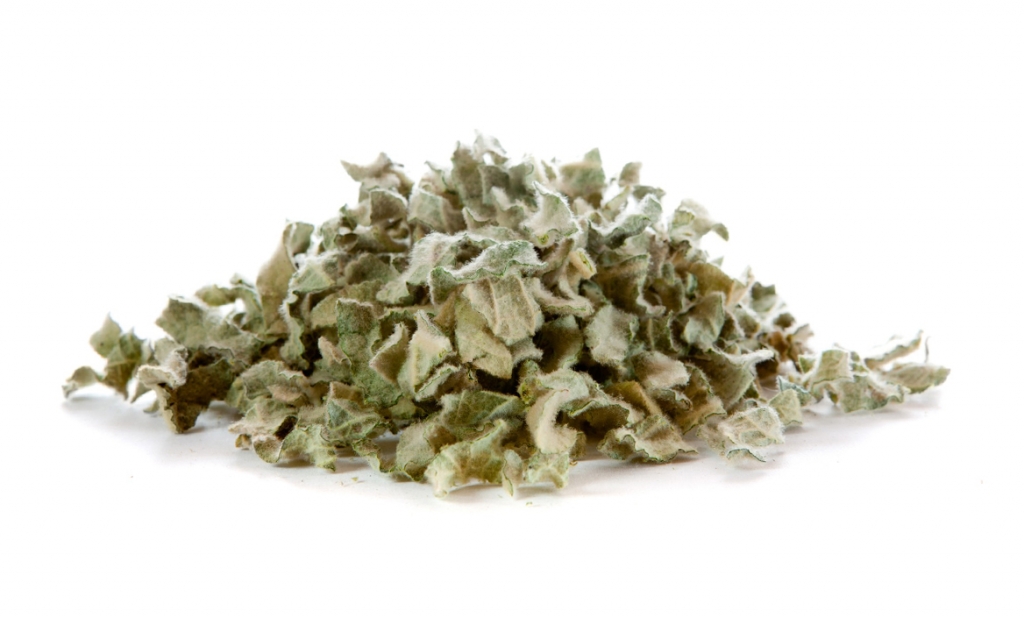
- 2 tbsp dried Mullein leaves
- Choice of Carrier Oil (Olive, Sunflower, Almond, Coconut, Jojoba)
Mixing Instructions
-
Mix the fresh or dried ingredients together and place them in a clean jar with a lid, away from heat or light sources.
Instructions
- Prepare your jar. Make sure the jar is clean and very dry. Any water in the jar can lead to spoilage.
- Fill the jar to the near to the top with chosen herbs.
-
Pour oil over the herbs slowly. Using a utensil, move the herbs around to make sure all air pockets are filled with oil. Add enough oil to completely cover all the herbs, filling right up to the brim of the jar.
- Cover the jar tightly, shake it up a bit, and put it in a cool place inside your house. Every 6-9 days, give your jar a thorough shake. It will be ready to use in 3-6 weeks. The jar may ooze or leak a little, so place it on a plate or towel.
- Once ready, strain the oil into your storage bottles through a cloth-lined strainer. Give the herbs a final few squeezes to get the last of that herb-soaked goodness.
-
At this point you can do a double extraction/infusion by putting the oil back into a jar with a fresh batch of herbs and do the shaking of it for another 3-6 weeks.
- Cork and label your bottles. The oil should last at room temperature for up to a year; two years if you add a capsule or two of vitamin E, a natural preservative.
Now that you have your herbal oil you can now turn it into a salve, balm, gloss, or cream. First, let’s detail the salve-making.
Makes 5 ounces.
Ingredients
- 1 oz. beeswax
- 4 oz. herbal infused oil(s) of your choice (choose one or a combination)
- 10-20 drops essential oil of choice (optional)
Directions
- Wrap beeswax bar in an old towel. On a sturdy surface, use a hammer to break bar up into small chunks Or you can grate the wax into shards for easier melting more quickly.
- Place beeswax in a double boiler and gently warm over low heat until the beeswax melts.
- Add herbal oils and stir over low heat until well-mixed.
- Remove from heat and add the essential oil(s) if so desired.
- Quickly pour warm mixture into prepared tins, glass jars, or lip balm tubes and allow to cool completely.
- Add a 2 capsules of vitamin E for longer preservation of the salve.
- Store in a cool location for 1 to 3 years.
The consistency of salves can easily be adjusted depending on your preferences. Use less beeswax for a softer salve and more beeswax if you’d like a firmer salve. You can test the consistency by placing a spoon in the freezer before making your salve. When the beeswax melts, pour a little salve onto one of the cold spoons and place it back into the freezer for 1 to 2 minutes. This will simulate what the final consistency will be like. Once cooled, you can make adjustments by adding more oil (for a softer salve) or more beeswax (for a firmer salve).
And there you have it, you can now start experimenting with the herbs, singular or in combination with each other for the desired effect you are wanting.

